
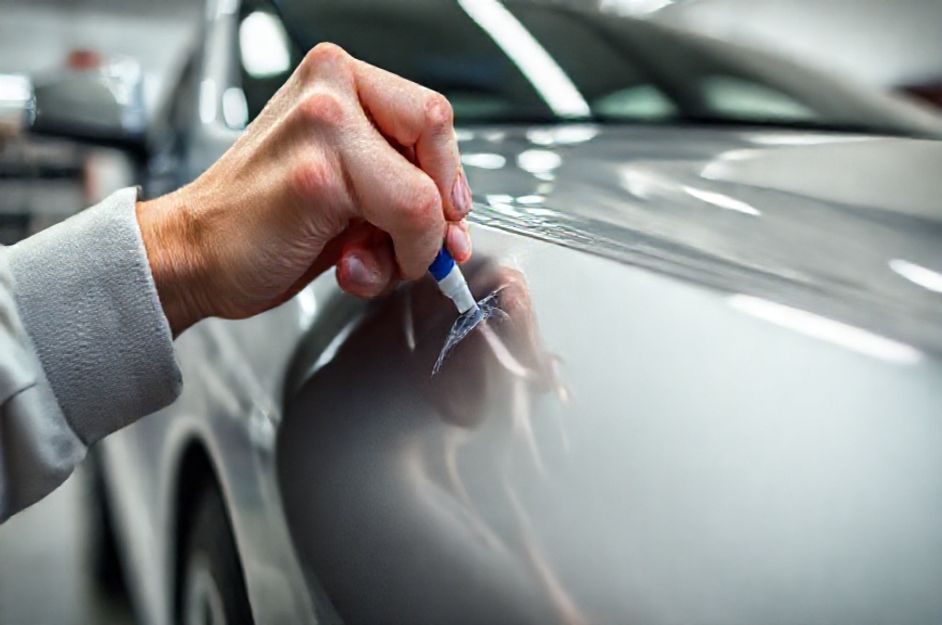
Scratches on your car are inevitable, despite your best efforts to protect the paint. Even minor scratches can accumulate, diminishing your car’s showroom appearance. Fortunately, you can often fix these blemishes yourself.
For small scratches, touch-up paint provides an easy solution. However, deeper or larger scratches may require professional attention. If your car has an enameled finish, consulting a professional before attempting any repairs is crucial to avoid further damage. For other paint types, a DIY approach is often feasible.
The key to a successful repair lies in using body compound and primer paint. Choose a light-colored primer to ensure easy coverage with touch-up paint. Before you begin, thoroughly clean the area around the scratch with a mild detergent to remove any wax or coatings that could interfere with the new paint’s adhesion.
Once the area is clean, gently sand the scratch using fine-grained sandpaper. Remove any rust you find. After sanding, eliminate all dust particles. Isolate the scratch using masking tape and newspaper, leaving about a half-inch of exposed area around it for working.
Apply the body compound to the scratch with a plastic tool to prevent additional scratches. Allow the compound to harden completely, then sand it down until it’s level with the surrounding paint. Remove any remaining dust. Next, apply the primer paint to the scratch and let it dry overnight.
The following morning, apply the appropriate touch-up paint. If you’re unsure of the exact color, consult your vehicle identification number (VIN). After applying the touch-up paint, allow it to dry overnight. The next day, the scratch should be virtually invisible, restoring your car’s pristine look.