
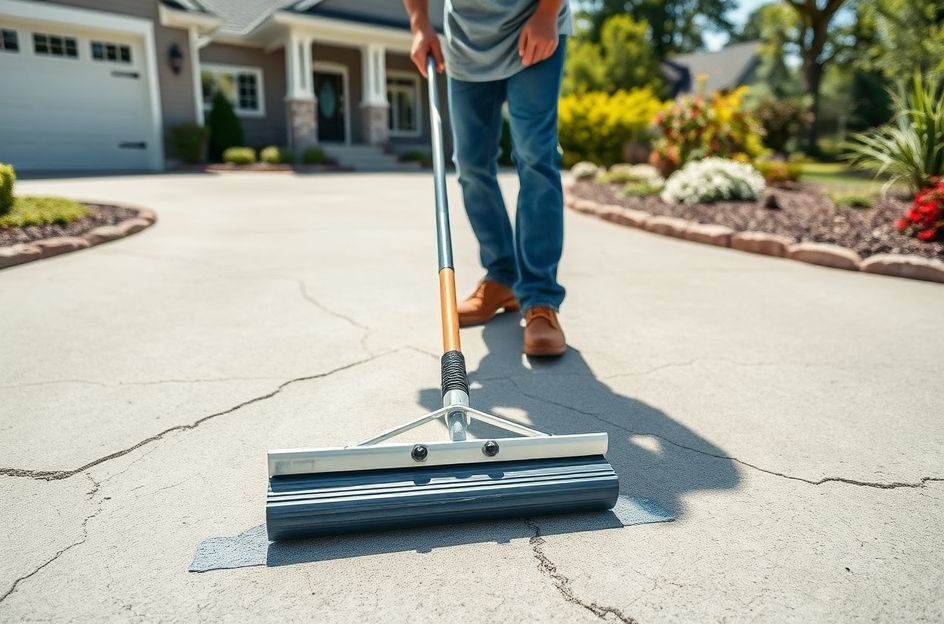
A driveway significantly impacts your home’s curb appeal. While remodeling is popular, cracked or chipped driveways are often overlooked due to the perceived cost and hassle of complete replacement. Resurfacing offers a cost-effective and simpler solution to restore and strengthen your existing driveway. With products like Quikrete Concrete Resurfacer, homeowners can achieve a durable, wear-resistant surface capable of withstanding heavy traffic. The process involves a simple squeegee application, requiring minimal tools: a long-handled squeegee, a five-gallon bucket, and the concrete resurfacer itself.
Here’s a step-by-step guide to resurfacing your driveway:
1. Begin with a thorough cleaning of the driveway to ensure proper bonding of the resurfacer.
2. Mix the resurfacing compound with water according to the product instructions until it reaches a pourable consistency.
3. Pressure wash the driveway to clean and saturate the surface. Remove any standing water before proceeding.
4. Pour the mixture onto the concrete surface and spread it evenly using the long-handled squeegee.
5. Scrub the material into the surface with the squeegee to ensure proper adhesion.
6. For a slip-resistant finish, immediately follow with a broom, making consistent strokes across the entire work area.
7. Allow 6 hours before allowing foot traffic and 24 hours before driving on the surface. Curing times may need to be extended in cooler temperatures.
8. Protect the resurfaced driveway from rain for at least 6 hours, or longer in damp conditions. A sealer is not typically required.
For a decorative touch, consider adding Quikrete Cement Color to the mixture. For thicker applications to repair deeper damage, apply additional thin layers or use a trowel after the initial squeegee layer. This method provides a revitalized driveway without the expense and effort of a full replacement.