Replacing a front wheel bearing might seem daunting, but with the right tools and a bit of patience, it’s a manageable DIY project that can save you hundreds of dollars. This guide provides clear, step-by-step instructions for replacing your front wheel bearings.
**Identifying a Bad Wheel Bearing:**
Common signs of a failing wheel bearing include a humming or grinding noise coming from the wheel area, especially noticeable at higher speeds. You might also feel a vibration or shutter in the steering wheel. If you suspect a problem, it’s crucial to address it promptly to prevent further damage and ensure your safety.
**Tools and Materials You’ll Need:**
* Large adjustable wrench
* Channel-lock pliers
* Bearing race driver tool set
* Various sized punches
* Socket and ratchet set
* Assorted wrenches
* Rags
* New wheel bearings (ensure they are the correct ones for your vehicle)
* Wheel bearing grease
* New cotter pin
* New grease seals
* Wheel blocks
* Safety glasses
* Jack and jack stands
**Important Safety Precautions:**
* Always wear safety glasses to protect your eyes.
* Never work on a vehicle supported only by a jack. Use jack stands to provide a stable and secure base.
* Consult your vehicle’s repair manual for specific instructions and torque specifications.
* Maintain cleanliness throughout the process to prevent contamination of the new bearings.
**Step-by-Step Wheel Bearing Replacement:**
1. **Preparation:** Gather all your tools and materials. Park the vehicle on a level surface, engage the parking brake, and block the rear wheels.
2. **Loosen Lug Nuts:** Slightly loosen the lug nuts on the wheel with the bad bearing *before* jacking up the car.
3. **Raise and Secure Vehicle:** Use the jack to lift the vehicle and securely position it on jack stands. Remove the wheel.
4. **Remove Brake Caliper:** Detach the brake caliper and caliper bridge, then carefully remove the rotor. Support the caliper so it does not hang by the brake line.
5. **Remove Bearing Cap:** Use channel-lock pliers to gently work the bearing cap back and forth until it pops off. Avoid crushing the cap.
6. **Remove Cotter Pin and Retainer:** Remove the cotter pin and the retainer ring (if your vehicle has one). Vehicles with castellated nuts will not have a retaining ring.
7. **Remove Spindle Nut:** Use your channel-lock pliers or adjustable wrench to remove the nut from the spindle.
8. **Remove Outer Bearing and Washer:** Remove the outer wheel bearing and washer.
9. **Slide Off Rotor/Drum:** Carefully slide the rotor or drum off the spindle.
10. **Remove Grease Seal and Inner Bearing:** Remove the grease seal and take out the inner wheel bearing.
11. **Clean the Hub:** Thoroughly wipe all old grease from inside the hub.
12. **Remove Bearing Races:** Use a punch with a flat, narrow tip to tap out the bearing races from the hub. Work from the back of the race, alternating sides to ensure even removal.
13. **Clean Thoroughly:** Clean the inside of the hub and the spindle with clean rags.
14. **Install New Races:** Using the bearing race driver tool, install the new bearing races into the hub.
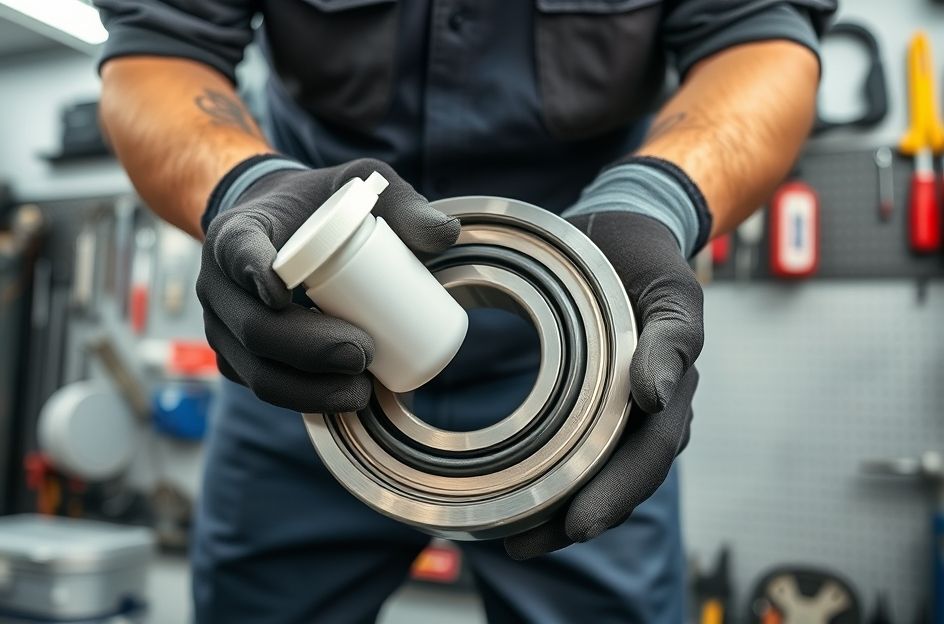
15. **Pack Bearings with Grease:** Liberally pack the new wheel bearings with wheel bearing grease.
16. **Install Inner Bearing and Grease Seal:** Install the greased inner bearing and a new grease seal.
17. **Slide on Rotor/Drum:** Carefully slide the rotor or drum back onto the spindle.
18. **Install Outer Bearing and Washer:** Install the greased outer wheel bearing and washer.
19. **Install Spindle Nut:** Tighten the spindle nut to the manufacturer’s specified torque. Consult your repair manual for the correct value.
20. **Install Retainer and Cotter Pin:** Install the retainer ring (if applicable) and a new cotter pin.
21. **Install Bearing Cap:** Gently tap the bearing cap back into place.
22. **Reinstall Brake Caliper and Wheel:** Reinstall the brake caliper and the wheel. Tighten the lug nuts to the proper torque specifications.
23. **Lower Vehicle:** Carefully lower the vehicle to the ground.
**Regular Inspection:**
It’s a good practice to inspect your wheel bearings every 30,000 miles, ideally when you have your brakes replaced. This proactive approach can help identify potential issues early and prevent costly repairs.