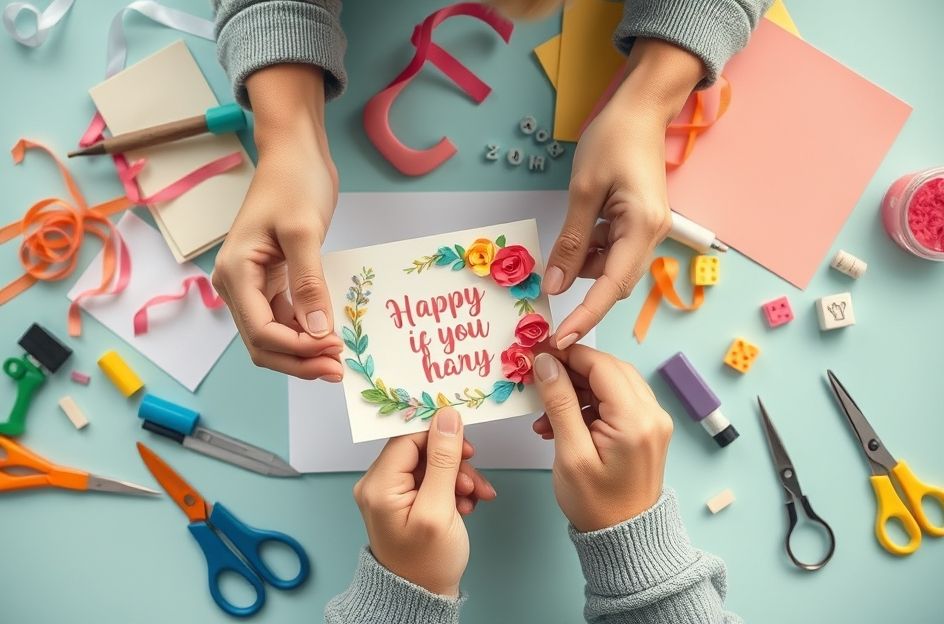
Creating personalized cards is a heartfelt way to connect with others. Whether it’s for a birthday, anniversary, or just to say ‘thinking of you,’ a handmade card adds a special touch. Here’s a comprehensive guide to designing memorable cards:
1. Choosing Your Card Type: Explore various card types to suit the occasion. Consider birthday cards, anniversary greetings, cards for children, wedding well-wishes, sympathy notes, holiday greetings, or ‘get well soon’ messages. Select the type that resonates most with your intention.
2. Selecting the Perfect Paper: Start with a good foundation by choosing quality paper. Opt for pre-folded cards for convenience, or use cardstock for a more customized approach. A bone folder ensures crisp, clean folds. Select a size that fits your design and ensure you have a matching envelope or are prepared to craft one.
3. Adding Images and Embellishments: Enhance your card’s visual appeal with stickers or rubber stamps. Experiment with different colored stamp pads to achieve your desired effect. Layer stickers or stamped images on various papers to create depth and visual interest. Combine plain and patterned paper for a unique touch. Alternatively, dimensional embellishments can add texture and character to your card.
4. Adhering with Care: Choosing the right adhesive is crucial. A glue gun is suitable for heavier items but may wrinkle thinner papers. Glue dots and strips are ideal for precision work. Heavy-duty glue sticks offer excellent adhesion for most paper types, drying smoothly and clearly.
5. Crafting the Message: Carefully consider the wording of your card. Decide whether to place the greeting on the inside or front of the card. Utilize rubber stamps, stickers, or computer-generated greetings for a personalized touch. The vast array of available fonts allows for unique and expressive messages.
6. Assembling Your Design: Before permanently attaching any elements, arrange your design on the card to ensure proper fit and visual appeal. Once satisfied, carefully glue each piece, ensuring all components are securely fastened.
7. Personalizing the Inside: Consider adding a complementary message or design to the inside of your card. Layer the message on coordinating paper to echo the front design. Attach these pieces to the inside for a cohesive look.
8. Final Touches and Embellishments: Evaluate the overall design. Consider adding colored brads, buttons, or other embellishments for added flair. Enhance specific design elements with markers, colored pencils, chalks, or watercolors.
9. Adding Fiber and Finishing the Envelope: Incorporate fiber elements, both inside and out, to complete the design. Select coordinating ribbon, yarn, metallic thread, or wire in colors that complement the card’s design. Tie the strands into a knot and trim the ends. Attach with a glue gun. To complete the card, decorate the envelope to match. Use markers, chalk, stickers, and stamps to create an envelope that complements the card inside.
With a little time and creativity, you can design a special and unique card and envelope that will be cherished by the recipient.