
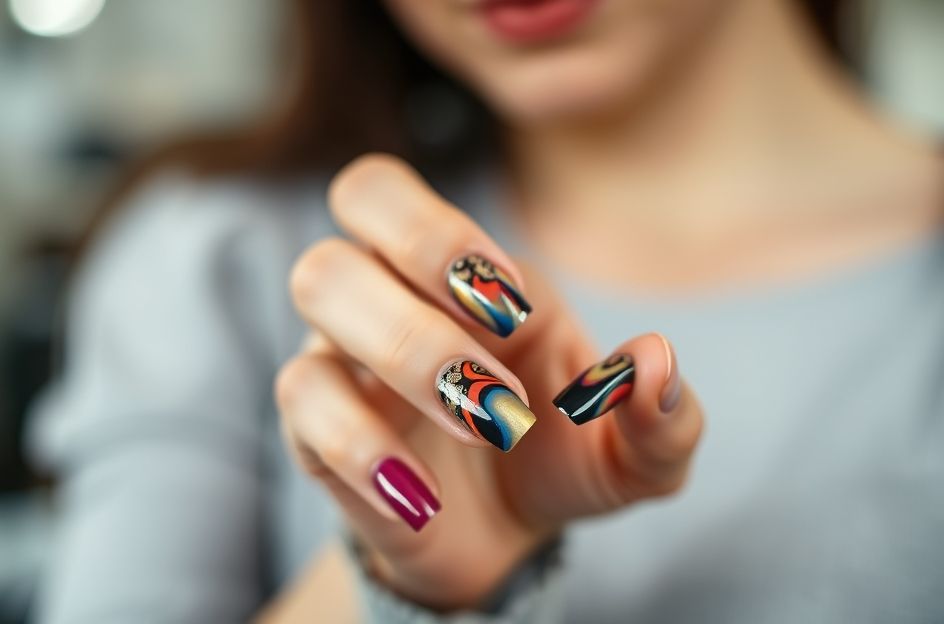
Achieving salon-worthy nails doesn’t require expensive appointments. Airbrushing your nails at home is a cost-effective and creative way to express your personal style. This comprehensive guide provides a step-by-step approach to mastering airbrush nail art.
**Essential Supplies:**
* Acetone (Nail Polish Remover)
* Nail Stencils (various designs)
* Nail Polish (at least two colors)
* Airbrush Gun
* Topcoat Nail Varnish
**Step-by-Step Instructions:**
1. **Prepare Your Nails:** Begin by thoroughly cleaning your hands with acetone to remove any oils or existing nail polish. This ensures optimal adhesion and longevity of your airbrushed design.
2. **Apply a Base Coat:** Apply a thin, even layer of base coat to protect your natural nails and create a smooth surface for the polish to adhere to. Allow the base coat to dry completely.
3. **Apply Background Color:** Once the base coat is dry, apply your chosen background color. Ensure it’s fully dry before proceeding to the next step.
4. **Position the Stencil:** Carefully place the nail stencil on your nail, ensuring it’s in the desired position for your design. For beginners, simple designs like plain lines are recommended.
5. **Airbrush the Design:** Using your airbrush gun, gently spray the design color over the stencil. Apply thin, even layers to prevent bleeding or smudging. Remove any overspray around the design with a small amount of acetone on a cotton swab.
6. **Apply Topcoat:** Once the airbrushed design is completely dry, apply a generous layer of topcoat to seal the design and add shine. Allow the topcoat to dry fully. A professional nail dryer can expedite this process.
**Practice Makes Perfect:**
If you’re hesitant to start on your own nails, practice on synthetic hands or nail tips. This allows you to experiment with different stencils, colors, and techniques without the pressure of perfection.
With practice and patience, you’ll become proficient in airbrush nail art, creating stunning and unique designs from the comfort of your own home.